.webp&w=3840&q=75)
At a Glance
Setting up Dext with Xero is one of the first things we do for every new bookkeeping client at LedgerLogic. The combination solves a problem that affects nearly every Canadian small business: receipts get lost, paper fades, expense coding takes hours, and when the CRA asks for documentation you are scrambling through shoeboxes and email inboxes. Dext (formerly Receipt Bank) captures receipts digitally, reads the data using OCR, and pushes coded transactions directly into Xero. This guide walks you through the complete setup process, from creating your account to configuring supplier rules, with every step tailored to Canadian tax requirements.
At LedgerLogic, we configure Dext as part of every bookkeeping engagement. The workflow described here is the same one we use with our own clients across Ontario, British Columbia, Alberta, and Quebec.
Affiliate Disclosure: LedgerLogic is a Dext partner. We may earn a commission if you sign up through our links at no extra cost to you. We only recommend tools we use with our own clients.
Want Us to Set Up Dext for You?
Our CPA team configures Dext and Xero as part of every new client onboarding. We set up supplier rules, chart of accounts mapping, and approval workflows so your receipt management works from day one.
What Is Dext (Formerly Receipt Bank)?
Dext is a cloud-based receipt capture and expense management platform designed for small businesses and their accountants. You photograph a receipt with your phone, forward it by email, or upload it from your computer, and Dext's OCR technology extracts the vendor name, date, total amount, tax amount, and currency. The extracted data is then reviewed, coded to the correct expense category, and published to your accounting software as a draft bill or expense claim.
If you previously used Receipt Bank, you are already using Dext. Receipt Bank rebranded to Dext in 2021. The product is the same platform with continued improvements, and all existing Receipt Bank accounts transitioned automatically. The core features — receipt capture, data extraction, supplier rules, and accounting software integration — remain unchanged under the new name.
Dext integrates with Xero, QuickBooks Online, and Sage. For Canadian businesses, the Dext and Xero combination is our standard recommendation because of Xero's multi-currency support and clean bank reconciliation workflow. For a detailed breakdown of Dext's features, pricing, and how it compares to alternatives, see our receipt management tools comparison.
Why We Use Dext with Every Xero Client
The CRA requires supporting documentation for every expense deduction claimed on your tax return. Under the CRA record-keeping requirements, businesses must retain receipts and invoices for a minimum of six years from the end of the last tax year they relate to. If you cannot produce documentation during an audit, the CRA can disallow the deduction entirely — and that applies regardless of whether the expense was legitimate.
Paper receipts are unreliable for this purpose. Thermal paper (which most point-of-sale systems use) fades within 12 to 18 months. Receipts left in wallets, glove compartments, or desk drawers get crumpled, stained, or simply lost. By the time the CRA requests documentation two or three years later, the original receipt may be unreadable. Dext creates a permanent digital copy at the point of capture, storing the original image alongside the extracted data in a searchable archive.
Beyond CRA compliance, Dext eliminates the most time-consuming part of small business bookkeeping: manually entering expenses. For the average small business processing 50 to 100 receipts per month, we estimate Dext saves 3 to 5 hours of manual data entry. Those hours are not just about typing — they include deciphering handwriting, looking up vendor names, selecting the right expense category, and entering the correct tax amount. Dext handles all of that automatically once supplier rules are configured.
The three-way reconciliation workflow — receipt in Dext, bill in Xero, payment in the bank feed — is the gold standard for clean books. Every expense is supported by a source document, coded to the correct account, and matched to the bank transaction. This is the level of documentation that keeps you compliant and gives your accountant clean data to work with at year-end.
CPA Pro Tip: The CRA accepts digital copies of receipts as valid supporting documentation, provided the digital copy is a clear and accurate reproduction of the original. Dext's high-resolution image capture meets this standard. Once captured in Dext, you do not need to retain the paper original — though some businesses choose to keep paper copies for the first few months until they trust the digital workflow.
Step-by-Step Setup Guide
This setup guide assumes you already have an active Xero organisation. If you are still evaluating Xero, see our complete Xero guide for Canadian businesses before proceeding. The entire setup process takes approximately 1 to 2 hours, with the supplier rules configuration improving over the first 2 to 4 weeks of normal use.
Step 1 — Create Your Dext Account
Sign up at dext.com and select the plan that matches your receipt volume. For most small businesses processing fewer than 50 items per month, the Essentials plan is sufficient. If you have multiple employees submitting expenses, or you process more than 50 items monthly, the Business plan adds approval workflows and higher submission limits. Dext offers a free 14-day trial on all plans, so you can test the full feature set before committing.
During account creation, set your country to Canada and your currency to CAD. This ensures Dext defaults to Canadian tax codes and formats when extracting receipt data.
Step 2 — Connect Dext to Xero
In Dext, navigate to Settings, then Connections, and select Xero as your accounting software. Dext will redirect you to Xero's authorisation screen, where you log in and grant Dext access to your Xero organisation. Once connected, Dext imports your chart of accounts, tax rates, and tracking categories from Xero. This connection is the foundation for everything that follows — expense categories, tax codes, and account mappings all pull from your Xero data.
If you manage multiple Xero organisations (for example, if you have a holding company and an operating company), connect each one separately. Dext supports multiple connected organisations from a single account.
Step 3 — Configure Canadian Tax Defaults
This step is critical for Canadian businesses and is where many DIY setups go wrong. In Dext's settings, set your default tax code to match your province. For Ontario businesses, the default should be HST (13%). For Alberta, it is GST only (5%). For British Columbia, it is GST (5%) plus PST (7%). For Quebec, it is GST (5%) plus QST (9.975%). Getting this default right means Dext applies the correct tax treatment to the majority of your receipts without manual intervention.
You can override the default on individual receipts — for example, if you purchase something from a different province or buy a zero-rated item. But having the correct default eliminates the need to adjust tax on 80% to 90% of your submissions.
CPA Pro Tip: If your business is in a province with both GST and a provincial sales tax (BC, Saskatchewan, Manitoba, or Quebec), make sure your Xero tax rates are configured as compound taxes. Dext will extract the total tax amount from the receipt, and Xero needs to split it correctly between GST and the provincial component for your input tax credit claims.
Step 4 — Set Up Chart of Accounts Mapping
Before you start submitting receipts, map your Dext expense categories to the correct accounts in your Xero chart of accounts. This mapping determines where each receipt ends up in your financial statements. Common mappings include: office supplies to Office Expenses, meals to Meals and Entertainment, software subscriptions to Computer and Internet, fuel to Vehicle Expenses, and postage to Postage and Shipping.
Take 20 to 30 minutes to review your Xero chart of accounts and set up the mappings before submitting any receipts. This upfront investment prevents miscoded transactions that require manual cleanup later. If you have not yet configured your Xero chart of accounts for Canadian tax categories, do that first — see our Xero chart of accounts setup guide for the recommended structure.
Step 5 — Configure Your Dext Email Address
Every Dext account has a unique email-in address, typically in the format yourname@dext.cc. This is one of the most powerful features for capturing receipts that arrive by email. When a supplier sends you an invoice or receipt by email, simply forward it to your Dext email address. Dext extracts the data from the attachment (PDF or image) or from the email body itself and creates a new item in your inbox.
Add your Dext email address to your contacts and set up forwarding rules in your email client for vendors that consistently send invoices by email. For example, you can create a rule that automatically forwards all emails from your internet provider, phone company, or SaaS subscriptions directly to Dext. This captures recurring expenses without any manual effort.
Step 6 — Install the Mobile App
Download the Dext mobile app from the App Store (iOS) or Google Play (Android). The mobile app is how you capture paper receipts — take a photo immediately after a purchase, and Dext processes it within seconds. The app supports multi-page capture for long receipts and batch mode for processing multiple receipts in one session.
Train yourself (and your team) to photograph receipts immediately. The best time to capture a receipt is at the point of sale, while the paper is still crisp and legible. Stuffing receipts in your pocket to capture later is how receipts get lost or damaged.
Step 7 — Set Up Supplier Rules
Supplier rules are the feature that transforms Dext from a simple receipt scanner into an automated expense coding system. A supplier rule tells Dext: every time you see a receipt from this vendor, code it to this account, apply this tax rate, and assign this tracking category. Once a rule is set, all future receipts from that vendor are coded automatically.
Start by processing your first 20 to 30 receipts manually. For each one, set the correct category, tax code, and tracking category. Then create a supplier rule from that receipt. After 2 to 4 weeks of normal use, your most common vendors will all have rules, and 70% to 80% of new submissions will be coded automatically.
Common supplier rules for Canadian businesses include: Tim Hortons mapped to Meals and Entertainment with HST, Amazon.ca mapped to Office Supplies with HST, Petro-Canada mapped to Vehicle Expenses with HST, Rogers or Bell mapped to Telephone with HST, and Staples mapped to Office Supplies with HST.
Step 8 — Configure Approval Workflow
If you have employees or contractors submitting expense receipts, set up an approval workflow in Dext. The workflow ensures that submitted items land in a review queue rather than publishing directly to Xero. The business owner or bookkeeper reviews each submission, confirms the coding, and approves it for publishing. This prevents miscoded expenses, duplicate submissions, and unauthorised purchases from reaching your accounting records.
For sole proprietors without employees, you can skip the approval workflow and review items directly in the Dext inbox before publishing.
Step 9 — Test with Five Sample Receipts
Before going live, process five test receipts through the complete workflow. Choose a mix: one photographed with the mobile app, one forwarded by email, one uploaded from your computer, and two from different vendors. For each test receipt, verify that Dext extracts the correct vendor name, date, total amount, and tax amount. Then publish the items to Xero and confirm they appear as draft bills with the correct account coding, tax code, and amount.
If any of the test receipts have incorrect data, adjust the extraction and update the supplier rule. It is far better to catch configuration issues with five test receipts than to discover them after processing a month's worth of expenses.
Step 10 — Set Up Bank Statement Extraction
Dext can also extract data from bank and credit card statements. Upload a PDF statement, and Dext reads each line item and creates individual expense entries. This is useful for capturing expenses where you did not receive a separate receipt — such as recurring subscriptions, bank fees, or small purchases that were not captured at the point of sale.
Bank statement extraction is a complement to receipt capture, not a replacement. The receipt image provides the detailed breakdown (individual items, tax amounts) that the bank statement line item does not. Use statement extraction to catch anything that slipped through your receipt capture process.
CPA Pro Tip: Run a monthly reconciliation between your bank statement and your Dext submissions. If there are transactions on the bank statement that do not have a corresponding Dext item, either the receipt was not captured or the expense was a bank-level charge (interest, fees). This gap analysis ensures nothing falls through the cracks before your bookkeeper closes the month.
Dext Features That Matter Most for Canadian Businesses
Dext has a broad feature set, but five features are particularly valuable for Canadian businesses running Xero.
GST/HST extraction. Dext's OCR reads tax amounts from Canadian receipts, including GST, HST, PST, and QST. For most Canadian receipts, the tax line is printed clearly and Dext extracts it accurately. This is essential for claiming input tax credits — the CRA requires that you substantiate the tax amount, not just the total. Having the tax amount extracted and recorded against each receipt gives you clean ITC documentation.
Multi-currency support. If you travel to the United States for business or purchase supplies from U.S. vendors, Dext reads USD receipts and records the foreign currency amount. When published to Xero, the transaction uses Xero's exchange rate for that date. This is particularly useful for e-commerce businesses that purchase inventory internationally.
Supplier rules. As described in Step 7, supplier rules automate the coding of recurring vendors. For a Canadian small business with 20 to 30 regular vendors (coffee shops, office supply stores, fuel stations, software subscriptions), supplier rules eliminate the need to manually code the majority of receipts.
Fetch. Dext Fetch connects directly to online supplier portals and automatically downloads invoices and statements. If your internet provider, phone company, or utility publishes invoices to an online portal, Fetch can log in and retrieve them without you lifting a finger. This is one of the most underused features and can capture 10 to 15 recurring monthly invoices automatically.
Bank statement extraction. As covered in Step 10, uploading bank or credit card statements lets Dext create individual expense entries from each line item. This acts as a safety net, catching expenses that were not captured via photo or email forwarding.
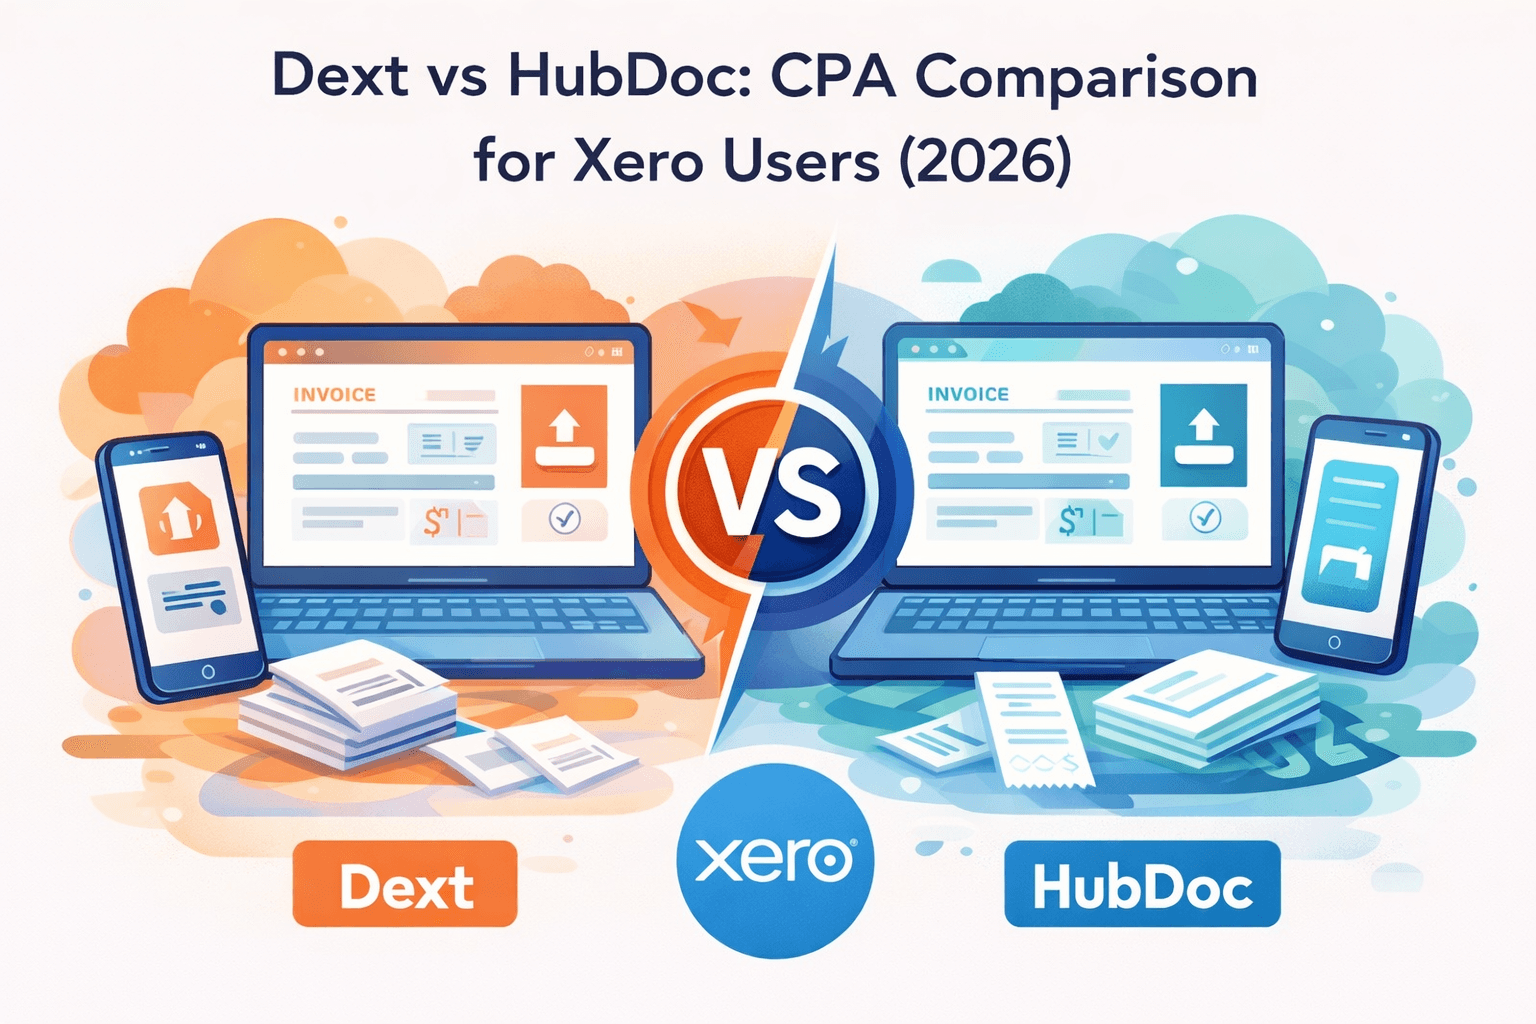
Dext vs HubDoc — Quick Comparison
If you use Xero, you already have access to HubDoc at no additional cost — Xero acquired HubDoc and includes it with every Xero subscription. So why would you pay for Dext when HubDoc is free?
HubDoc is a capable receipt capture tool for businesses with simple needs. It captures receipts by photo, email, or upload, connects to Xero, and stores document images. For a sole proprietor processing fewer than 20 receipts per month with straightforward expenses, HubDoc may be sufficient.
Dext pulls ahead in several areas. Its OCR accuracy is higher, particularly with Canadian receipts that have complex tax breakdowns (GST + PST provinces). Supplier rules in Dext are more granular, allowing automatic coding based on vendor, amount range, and description keywords. Dext's approval workflows are more robust for businesses with multiple employees submitting expenses. And Dext Fetch — the ability to automatically retrieve invoices from online supplier portals — has no equivalent in HubDoc.
The trade-off is cost. HubDoc is included with Xero at no extra charge. Dext starts at approximately $24 CAD per month. For businesses processing more than 20 receipts per month, the time savings from Dext's superior automation typically justify the cost within the first month. For a detailed feature-by-feature breakdown, see our full Dext vs HubDoc comparison.
Common Setup Mistakes
After configuring Dext for dozens of Canadian businesses, we see the same mistakes repeatedly. Avoid these to save yourself a cleanup project later.
Wrong default tax codes. This is the most common error. If your business is in Ontario and your default tax code is set to GST (5%) instead of HST (13%), every receipt will be under-coded for tax. You will miss 8% of your input tax credits on every single transaction until someone catches the error. Always verify your default tax code matches your province before processing any receipts.
Not mapping the chart of accounts first. If you start submitting receipts before mapping your Xero chart of accounts, Dext will code items to whatever account it guesses — and those guesses are often wrong. Spend 20 to 30 minutes mapping your accounts before your first submission. It saves hours of reclassification later.
Auto-publishing without review. Dext has an option to automatically publish items to Xero without manual review. While this sounds efficient, it means OCR errors, miscoded items, and duplicate submissions go straight into your accounting software without a human checking them. We recommend keeping manual review enabled, at least for the first three months until your supplier rules are well-established and you trust the accuracy.
Not setting up supplier rules. Without supplier rules, you are manually coding every single receipt. The entire value proposition of Dext is automation — and that automation comes from supplier rules. Spend the first 2 to 4 weeks diligently setting rules for each new vendor, and your manual coding workload drops by 70% to 80% thereafter.
Ignoring the Dext email address. Many users only capture receipts by photo, ignoring the email-in feature. A significant portion of business expenses arrive by email — SaaS subscriptions, online orders, utility bills, insurance renewals. Forwarding these to your Dext email address is faster and more accurate than photographing a screen or printing and scanning.
Dext Pricing for Canadian Businesses
Dext offers tiered pricing based on the number of items processed and the features required. As of early 2026, the plans are structured as follows.
Essentials starts at approximately $24 CAD per month. This plan includes receipt capture via mobile, email, and upload, connection to one accounting software, basic supplier rules, and standard OCR extraction. Suitable for sole proprietors and very small businesses.
Business is the mid-tier plan and adds approval workflows, multiple user access, advanced supplier rules, and higher submission limits. This is the plan most of our clients use.
Enterprise is designed for larger organisations with complex multi-entity requirements and custom workflows.
All plans include a free 14-day trial. Dext subscription fees are fully tax-deductible as a business software expense, and the GST/HST paid on your Dext subscription qualifies for input tax credits. For e-commerce businesses and other high-receipt-volume operations, the time savings typically deliver a return on investment within the first billing cycle.
CPA Pro Tip: Ask your bookkeeper or accountant if they have a Dext partner account. Many accounting firms (including LedgerLogic) have partner pricing that can reduce the per-client cost. Your accountant may also be able to set up Dext for you as part of their onboarding process, saving you the configuration time.
Frequently Asked Questions

Seb ProstCPA, Ex-CRA
Licensed CPA with 10+ years of experience, including work with the Canada Revenue Agency. Founder of LedgerLogic, a cloud accounting firm serving Canadian SMEs. Xero Certified Advisor.